Why Layout Decisions Compound Over Time
Most garden frustration doesn't start with pests or poor soil - it starts with a layout that was never designed to be worked in. Beds placed too far from a water source, pathways too narrow to wheel a cart through, or plants crammed together because spacing felt abstract before they filled out: these early choices quietly create hours of extra work every season.
The good news is that a handful of planning principles, applied before you plant, can make routine care feel manageable rather than exhausting. If you're earlier in the process, starting a garden from scratch covers complementary ground on soil prep and realistic first-year expectations.
Map sun and shade patterns before placing any beds or borders.
Light conditions determine which plants can thrive in a given spot. Guessing often leads to plants struggling or failing, which means replanting - a preventable waste of time and money. Spending a single day observing your yard is one of the highest-leverage things you can do before any planting begins.
Design beds no wider than you can comfortably reach across from the path edge.
If you can't reach the center of a bed without stepping inside it, you'll compact the soil every time you weed, prune, or harvest. Soil compaction restricts root growth and water penetration, progressively degrading bed quality. A reachable bed keeps the soil structure intact season after season.
Establish clear, stable pathways before planting rather than after.
Retrofitting paths around established plants is disruptive and often means disturbing roots. Laying out pathways first gives you a working framework that prevents soil compaction in growing areas and makes the space navigable in all weather conditions.
Group plants with similar watering requirements in the same zone.
Mixed-moisture beds force you into a constant compromise - too much or too little water for at least some plants. Hydrozoning lets you irrigate each area according to its actual needs, which reduces both plant stress and the time you spend watering and troubleshooting.
Respect mature plant size at planting time, even when spacing looks excessive.
Crowded plants compete for resources and have poor airflow, which increases disease pressure and makes pruning more difficult. The temptation to fill gaps immediately leads to long-term maintenance burdens that could be avoided by planting at the right spacing from the start.
Position your most frequently tended plants nearest to your main access point.
High-frequency tasks - harvesting herbs, deadheading, checking for pests - happen more consistently when they don't require a deliberate trip across the garden. Proximity to your entry point means these tasks get done as a natural part of moving through your outdoor space.
Zone by Frequency of Attention
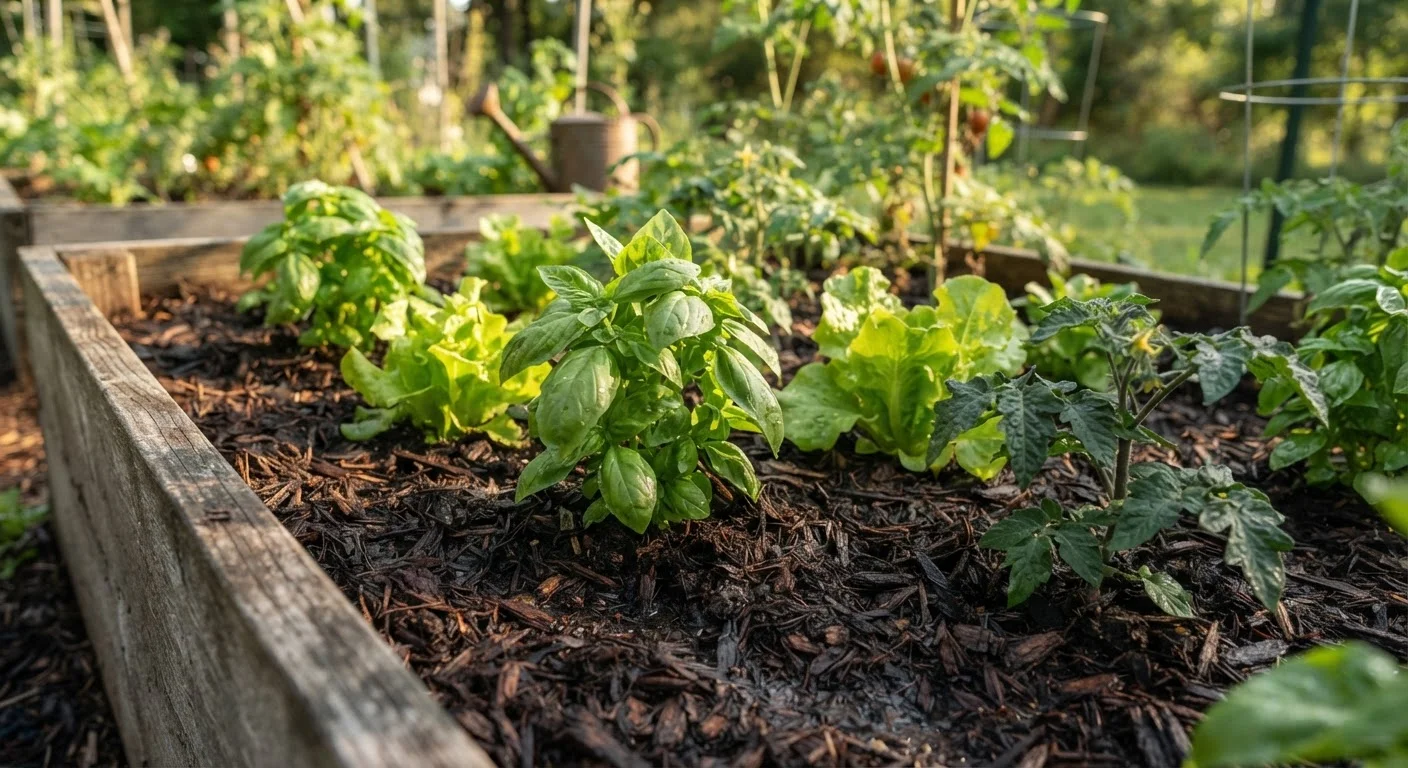
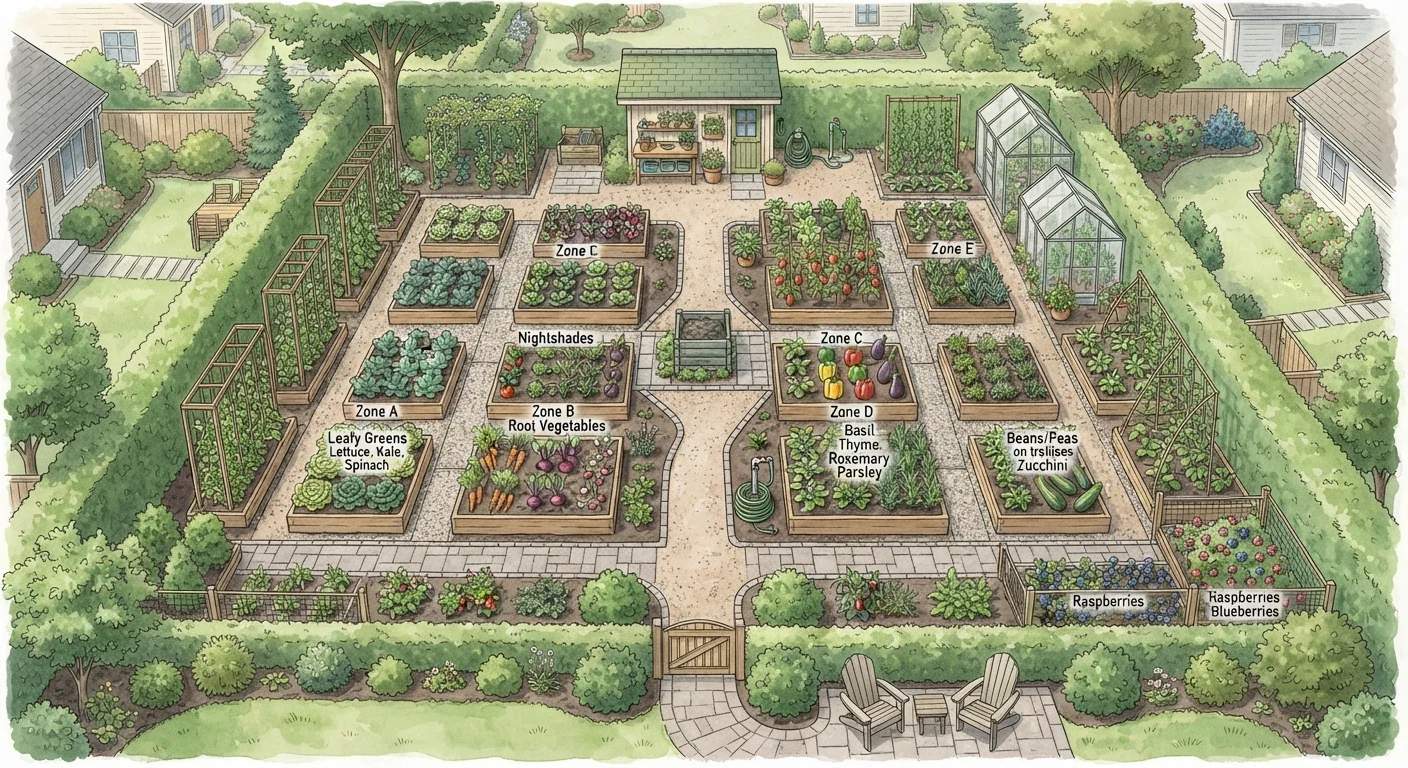
One of the most effective layout strategies is placing the plants you tend most often - herbs, salad greens, frequently harvested vegetables - closest to your main access point, whether that's a back door, a gate, or a tool storage area. Plants that largely look after themselves, such as established shrubs or ornamental grasses, can occupy the far reaches of the space.
This mirrors a principle familiar to anyone who has organized a kitchen: the items you reach for daily live within easy arm's reach. Applying the same logic outdoors means fewer unnecessary walks across wet or muddy ground. It also means you're more likely to catch early signs of trouble - an aphid colony, wilting, or a plant in need of deadheading - simply because you're passing by regularly.
Start With a Simple Zone Map
You don't need design software or graph paper. A rough hand-drawn sketch divided into zones - high-attention, medium-attention, low-attention - is enough to start making intentional placement decisions. Even a five-minute exercise like this surfaces conflicts before they become planted mistakes. Revisit the sketch once plants are in to note what you'd shift next season.
Pathways, Spacing, and Access
A pathway that looks generous on paper often feels cramped once plants fill out on either side. A practical rule of thumb: main pathways should be wide enough to walk through comfortably with a loaded garden cart or wheelbarrow - typically at least 24 to 30 inches. Secondary paths used only for kneeling and hand weeding can be narrower, but they should still allow you to work without stepping on soil you've just prepared.
Firm, stable surfaces - compacted gravel, stepping stones, or mulched paths - serve two purposes. They give you sure footing in wet conditions and they protect the surrounding soil from compaction, which damages root structure over time. On the topic of mulch, mulching pathways and beds also suppresses weeds with minimal ongoing effort.
Plant spacing deserves equal attention. Crowded plants compete for light, air, and nutrients, and restricted airflow raises disease risk. Always check mature size at planting time, not the size on the label when you buy - those two numbers are rarely the same.
30-50%
Potential reduction in garden water use through hydrozoning
University cooperative extension programs broadly cite zoning by plant water needs as one of the most effective practical water-conservation strategies for home gardens.
2-3x
Faster access time with well-placed paths
Garden design studies suggest that defined circulation routes significantly reduce the time spent navigating and repositioning tools during routine maintenance sessions.
Group Plants by Water and Light Needs
Hydrozoning - grouping plants with similar water requirements together - is one of the highest-return layout decisions you can make. When drought-tolerant plants and thirsty ones share the same bed, you either overwater one group or underwater the other. Separating them means you can irrigate each zone precisely, which saves water and reduces root problems caused by inconsistent moisture.
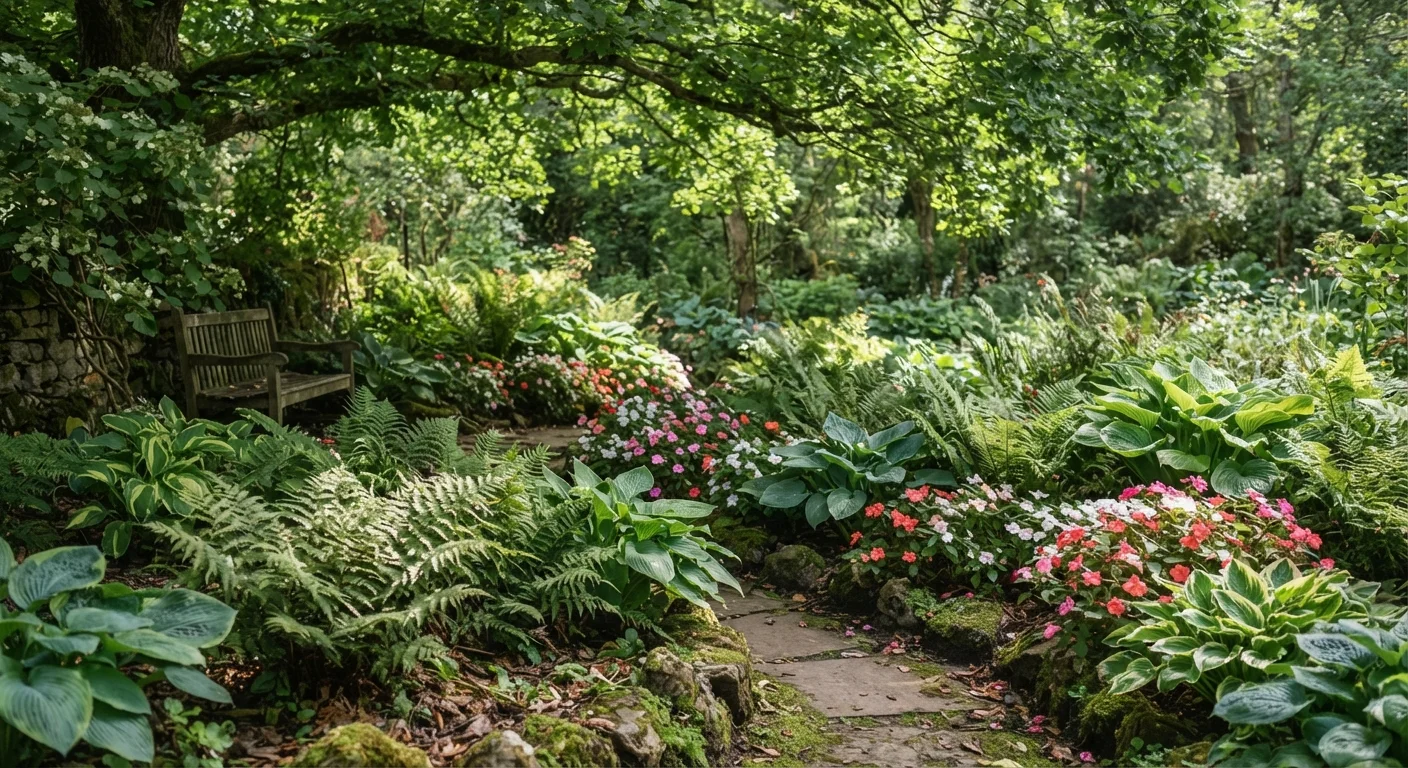
Light mapping works the same way. Before you place a single plant, observe your yard across different times of day and note where full sun, partial shade, and deep shade actually fall - not where you assume they fall. Structures, fences, and mature trees shift shade patterns more than most people expect. Shade-tolerant plants can turn a difficult corner into a genuine feature rather than a maintenance problem.
Shade Patterns Shift Seasonally
The sun sits lower in the sky in winter and higher in summer, which means a spot that gets good light in June may be significantly shadier in October - and vice versa. If you're planning a new garden in spring or fall, try to account for how light will behave across seasons rather than only observing current conditions. Deciduous trees in particular cast very different shade depending on whether their canopy is full or bare.
Build a Framework of Perennials
A garden built entirely from annuals requires replanting every year - which is rewarding but time-intensive. Establishing a backbone of perennials gives your space recurring structure without the annual effort of starting from zero. Once perennials are well established, they largely manage themselves through the season, leaving you free to refresh annual colour around them.
Understanding how to combine the two plant types strategically is worth spending time on. Annual vs. perennial planning breaks down how to layer growth cycles for a garden that evolves and fills in over multiple years rather than resetting each spring.
For vegetable plots specifically, a permanent layout also supports crop rotation - a practice that reduces disease buildup in the soil. Crop rotation is much easier to implement when your beds are clearly defined from the start.