Why Bathrooms Need More Attention Than You Think
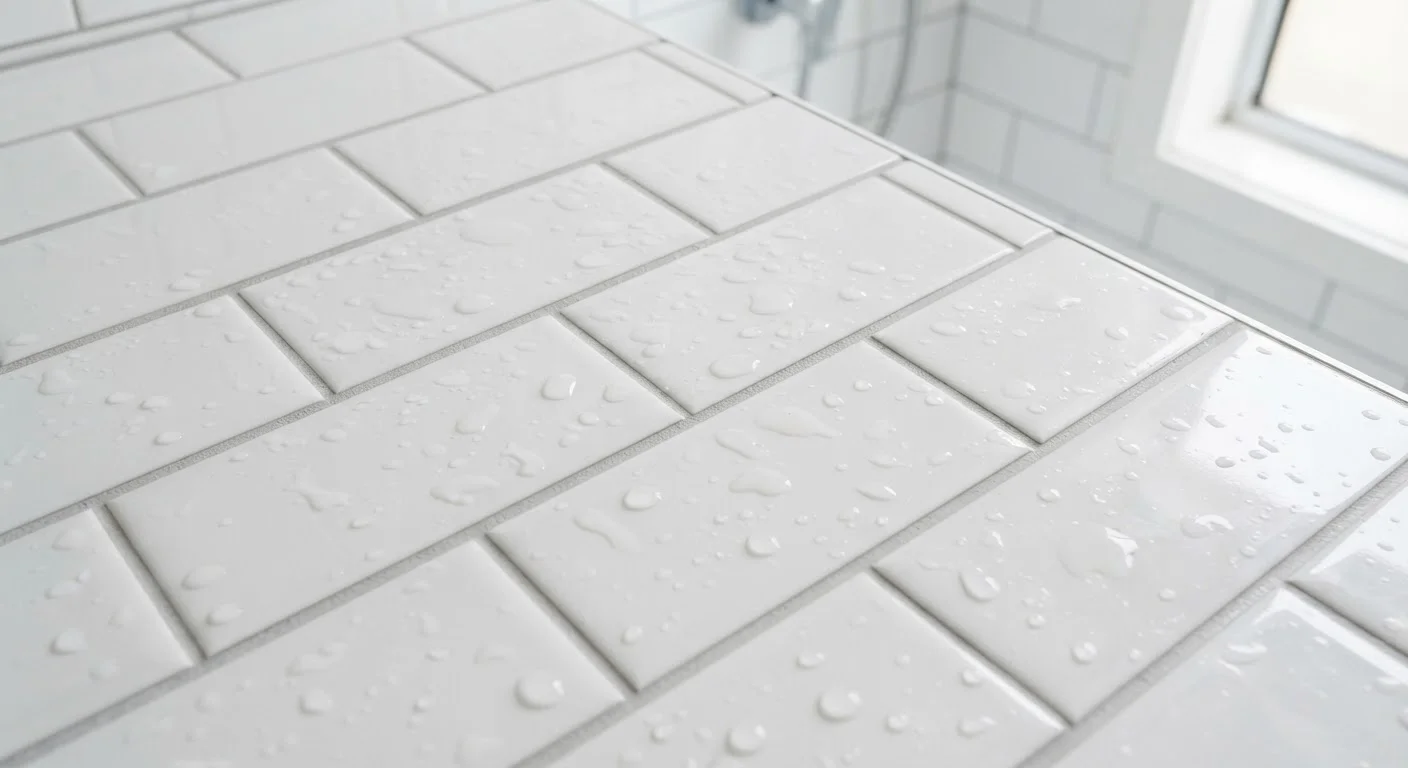
Your bathroom endures daily exposure to heat, moisture, soap residue, and cleaning chemicals - a combination that degrades surfaces faster than almost anywhere else in the home. Tile might look like a low-maintenance surface, but it's only as strong as what holds it together: grout and sealant.
Grout is porous by nature. Without a proper sealer, water seeps in, feeding mould and slowly eroding the bond between tile and substrate. Once water gets behind tile, you're looking at potential subfloor rot, mould remediation, and full tile replacement - costs that dwarf a few tubes of sealant and an afternoon of maintenance. See how neglected bathroom upkeep can escalate in our article on the real cost of skipping routine home maintenance.
Epoxy Grout vs. Cement Grout: Know the Difference
Many older bathrooms and most DIY renovations use cement-based grout, which is porous and requires sealing. Epoxy grout - increasingly common in newer installations - is non-porous, highly stain-resistant, and does not require a sealer. If you're unsure which type you have, check the original installation records or consult a tile professional before applying sealer unnecessarily.
Best Practices for Grout, Sealants, and Tile
The following practices are proven, DIY-friendly approaches that protect your bathroom surfaces and extend their lifespan significantly. Together they form a simple routine that pays for itself many times over.
Seal grout lines every one to two years using a penetrating grout sealer.
Grout is a cement-based material with an open pore structure that absorbs moisture readily. A penetrating sealer fills those pores without changing the grout's appearance, repelling water and preventing mould from taking hold. Skipping this step allows slow, invisible water damage that is far more expensive to fix than the sealer itself.
Inspect and replace caulk around tubs, shower pans, and fixtures annually.
Caulk is flexible sealant designed to bridge the gap between dissimilar materials that expand and contract with temperature changes. Over time it hardens, cracks, or separates - creating entry points for water that can reach wall framing and subfloor. This is one of the highest-leverage maintenance tasks in the bathroom. For guidance on choosing between caulk and other sealants, see caulking vs. weatherstripping.
Run the exhaust fan during and for at least 15-20 minutes after every shower.
Humidity is the root cause of most bathroom surface deterioration. An exhaust fan rated for your bathroom's square footage removes moisture-laden air before it condenses on grout, tile, and wall surfaces. Without it, even well-sealed grout is battling persistent dampness daily.
Clean tile and grout with pH-neutral cleaners rather than harsh acid or bleach products.
Acidic cleaners (including many commercial bathroom products) slowly dissolve grout over repeated use. Bleach can break down sealer and cause grout discolouration. pH-neutral cleaners remove soap scum and surface buildup without compromising the surface chemistry of grout or tile glaze.
Address cracked or missing grout promptly rather than leaving it until the next renovation.
A single cracked grout line is a direct water pathway to the substrate beneath. Tile mortar (the adhesive layer) and cement board are moisture-tolerant, but extended saturation causes them to degrade, loosening surrounding tiles and eventually reaching wood framing. Early spot regrouting takes under an hour; ignoring it can lead to full tile replacement.
Quick Wins You Can Do This Weekend
Not every maintenance task requires a full afternoon. These actions take 15-30 minutes each and deliver immediate protection. Even one of these implemented today reduces risk in a meaningful way.
For a broader view of which household tasks to schedule throughout the year, the seasonal home maintenance guide offers a practical room-by-room breakdown.
Reading the Warning Signs Early
Tile and grout communicate problems visually before they become structural. Learning to read those signals is half the battle.
- Cracked or crumbling grout: Water is getting through. Regrout affected areas before moisture reaches the wall cavity.
- Dark staining along grout lines: Could be surface mould (treatable) or deep mould (requires removal). Test by applying a diluted bleach solution - if staining remains after drying, the mould is embedded.
- Hollow-sounding tiles: Tap tiles with a knuckle. A hollow sound means the adhesive bond has failed; those tiles need to be reset before they crack or lift.
- Peeling or gapping caulk: Any separation between the caulk bead and the tub, shower pan, or wall is an open invitation for water. Replace immediately.
- Efflorescence (white, chalky residue): This mineral deposit appears when water is moving through the grout or tile - a sign of significant moisture infiltration that warrants further investigation.
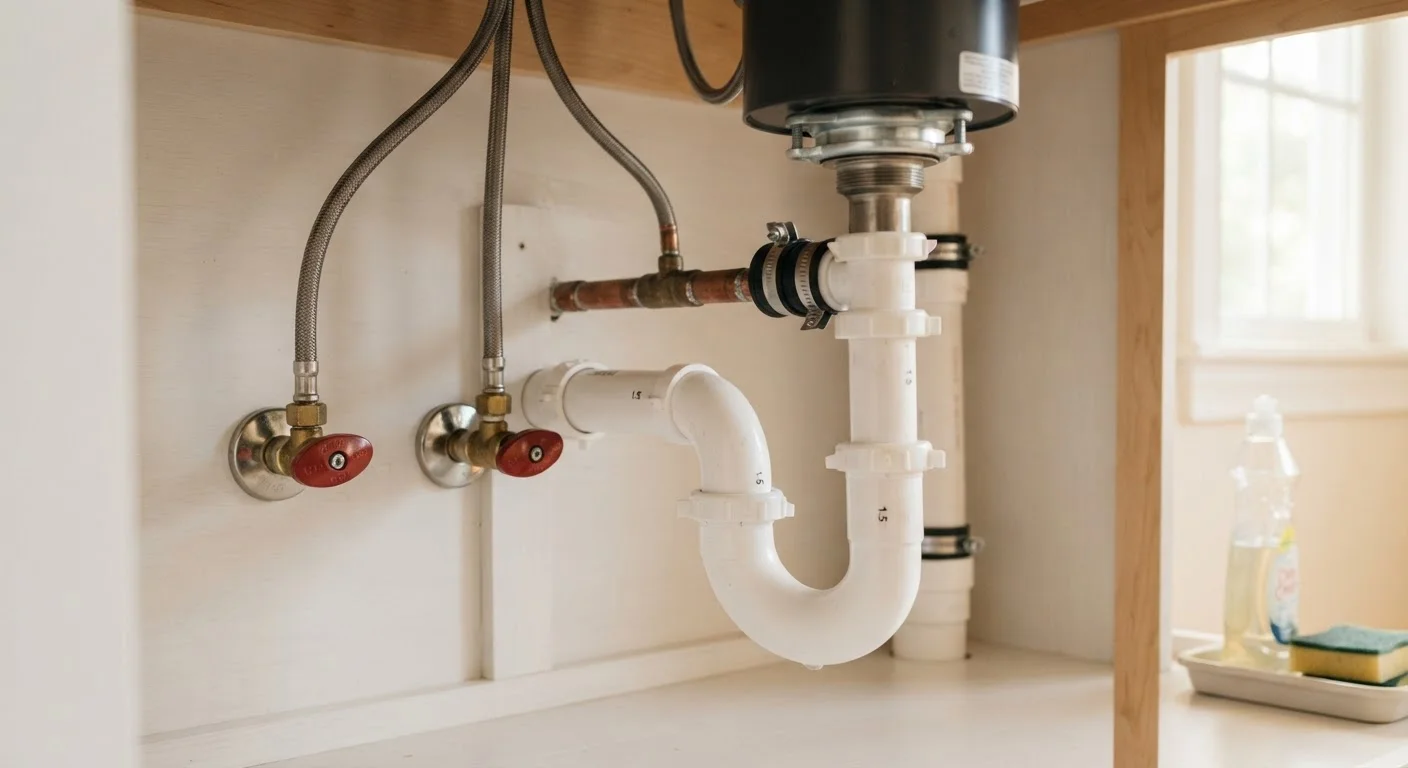
If you notice plumbing-related moisture (slow drains, persistent dampness near fixtures), understanding your home's water systems can help you isolate the source. Plumbing basics every homeowner should understand is a solid companion read.
When to Call a Professional
If you find soft or spongy tile substrate when pressing on tiles, or if tiles are visibly lifting without obvious impact damage, the issue may have progressed beyond DIY repair. Similarly, large-scale mould growth inside wall cavities - not just on surfaces - requires professional mould remediation, not just surface treatment. These are cases where professional assessment before proceeding protects both your health and your home's structure.
Keeping a record of when you last sealed, recaulked, or regrouted makes it much easier to stay on schedule. Learn how to set up a simple system in Keeping a Home Maintenance Log.