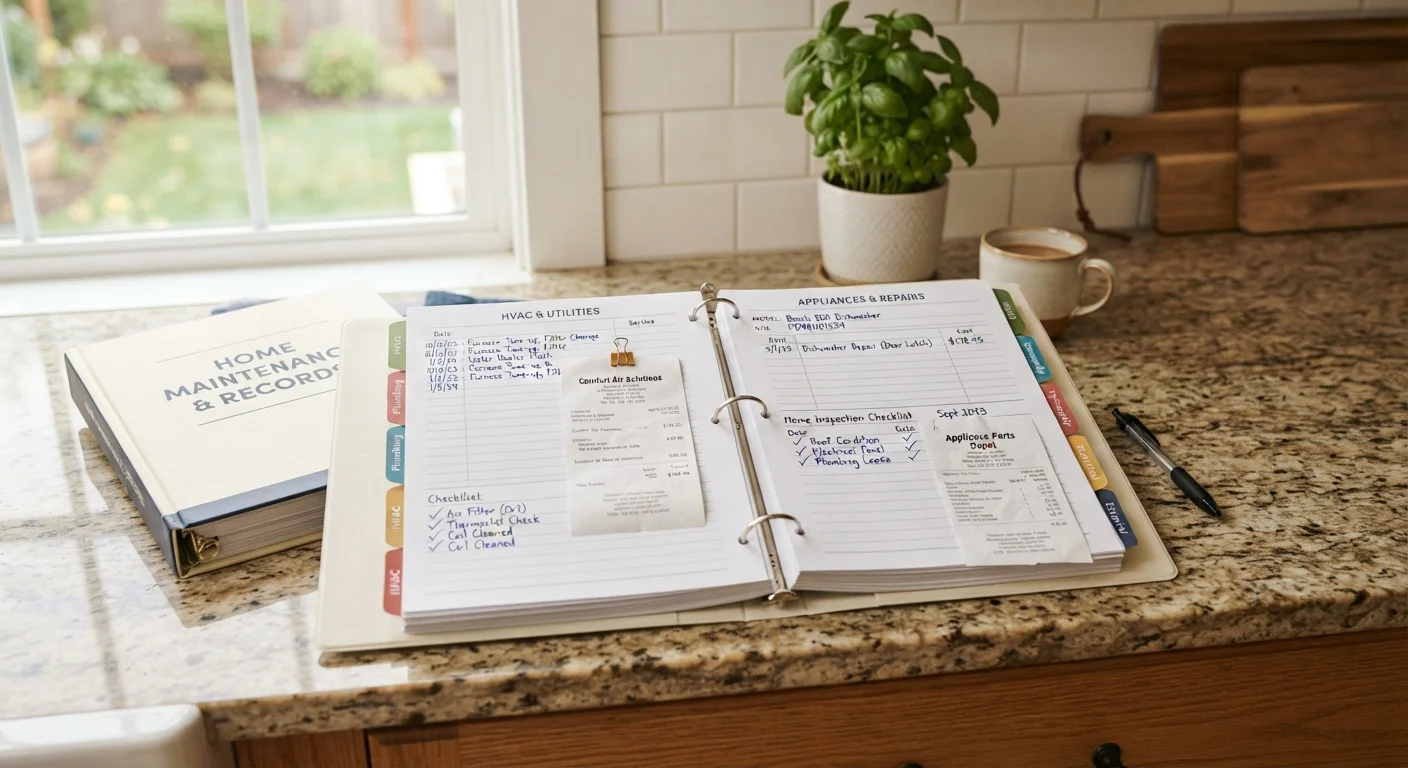
Why Routine HVAC Maintenance Matters
Your HVAC system - which stands for HVAC - is typically one of the most expensive mechanical systems in a home, and one of the most used. It runs year-round, cycling on and off hundreds of times a week. Without routine upkeep, small problems compound: a clogged filter strains the blower motor, a dirty coil reduces cooling capacity, and a blocked drain line can cause water damage to ceilings and floors.
The encouraging news is that several of the most impactful maintenance tasks require no special training. Consistent DIY habits - combined with annual professional service - can meaningfully extend your equipment's lifespan and keep energy costs in check. Neglecting even basic upkeep, on the other hand, tends to accelerate wear and push repair bills higher over time. For a fuller picture of what deferred maintenance can cost across your home, see what happens when routine home maintenance gets skipped.
This guide focuses on safe, straightforward tasks homeowners can handle themselves, along with clear guidance on when to hand things off to a qualified technician. HVAC maintenance fits naturally into a broader seasonal home care routine - our seasonal home maintenance guide can help you build a full-year schedule.
Match Filter Ratings to Your Needs
HVAC filters are rated by MERV (Minimum Efficiency Reporting Value) - a scale from 1 to 16 for residential systems. Higher ratings capture smaller particles but also restrict airflow more. A MERV 8-11 filter is appropriate for most homes; check your system's manual or consult a technician before jumping to a higher-rated filter, as some older systems aren't designed to handle the added resistance.
What You'll Need Before You Start
Most routine HVAC maintenance requires only a few inexpensive supplies you can pick up at any hardware store. Before you begin, take a few minutes to locate your system's main components: the indoor air handler (often in a closet, basement, or attic), the outdoor condenser unit, the thermostat, and all the supply and return vents in your home.
What you will need
Replacement Air Filter
Captures dust, pollen, and debris to protect the blower motor and maintain indoor air quality.
Flashlight
Helps you inspect duct vents, the air handler area, and the outdoor unit for blockages or visible damage.
Vacuum with Brush Attachment
Removes dust buildup from supply and return vent covers without scattering debris.
Garden Hose
Gently rinses dirt and debris from the outdoor condenser coil fins.
Fin Comb
Straightens bent condenser fins to restore airflow through the outdoor unit.
Programmable or Smart Thermostat
Reduces unnecessary runtime by automatically adjusting temperature settings when the home is unoccupied.
Step-by-Step Maintenance Tasks
Work through the steps below in order. Most can be completed in a single afternoon; the full routine - including the outdoor condenser rinse - typically takes under an hour. Schedule these tasks at the start of each cooling and heating season for best results.
Change the air filter
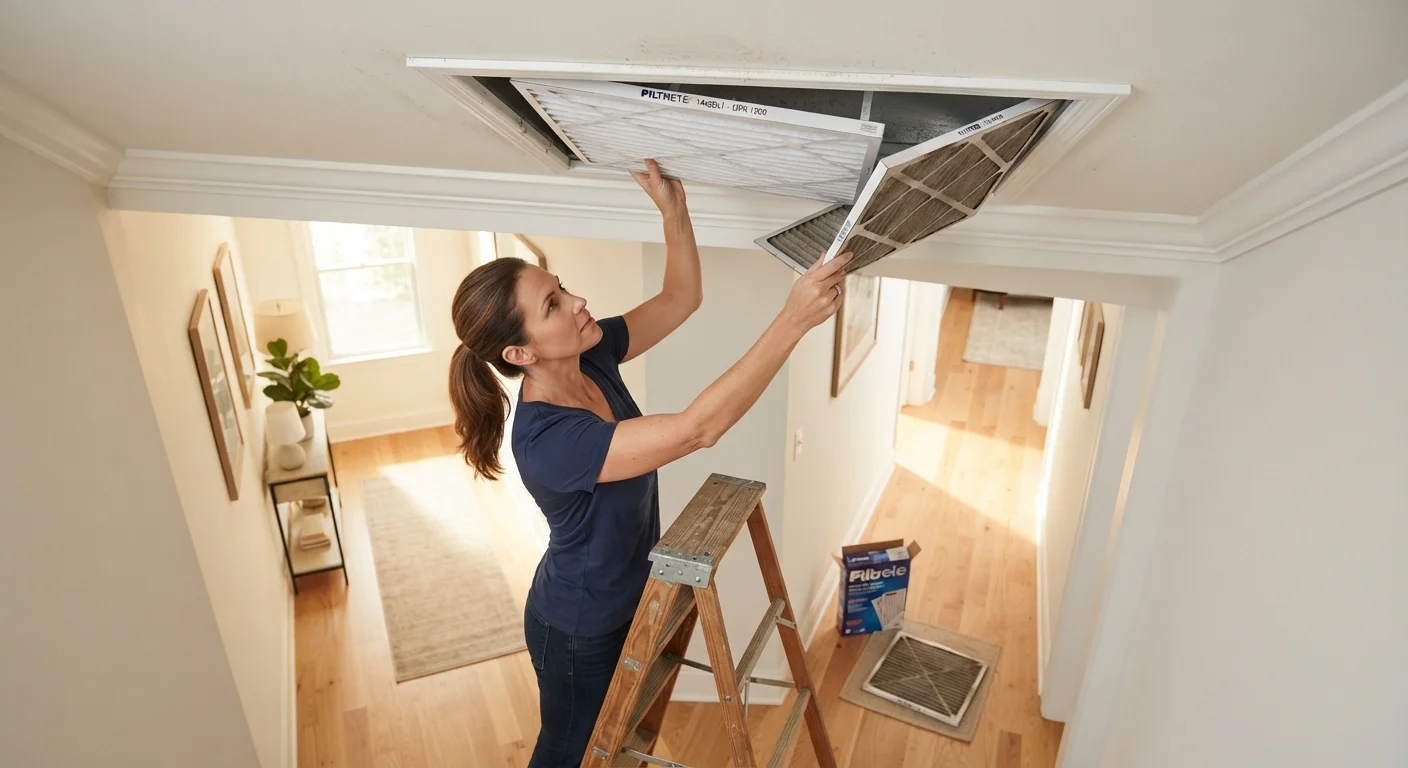
Locate your system's filter slot - typically at the return air vent or inside the air handler cabinet. Slide out the old filter and note the airflow direction arrow printed on its frame. Insert the new filter with the arrow pointing toward the blower motor. Most households should replace filters every one to three months; homes with pets or allergy sufferers may need monthly changes.
Clean the supply and return vents
Use a vacuum brush attachment to clear dust from all supply (air-out) and return (air-in) vent covers throughout your home. Remove vent covers if they detach easily and wipe them with a damp cloth. Blocked or dusty vents force your system to work harder and can create hot or cold spots in rooms.
Inspect and clear the outdoor condenser unit
Walk to the outdoor condenser and remove any leaves, grass clippings, or debris from around and on top of the unit. Trim back any shrubs or plantings so there is at least two feet of clearance on all sides. With the system powered off at the breaker, gently rinse the exterior coil fins with a garden hose - spray from the inside out if possible to push debris outward.
Check and clear the condensate drain line
Your air conditioner's evaporator coil removes humidity from the air, and that moisture drains through a condensate line - usually a white PVC pipe near the indoor air handler. Locate the drain pan beneath the air handler and check for standing water, which signals a clog. Many homeowners flush the line periodically by pouring a cup of distilled white vinegar into the access port on the line, which helps prevent algae buildup.
Test and calibrate your thermostat
Set your thermostat a few degrees above or below the current room temperature and listen for the system to engage within a minute or two. If you have an older mechanical thermostat, verify it is level on the wall - an unlevel thermostat can read temperatures inaccurately. Consider upgrading to a programmable model, which reduces runtime during hours the home is unoccupied without sacrificing comfort.
Schedule a professional annual tune-up
A licensed HVAC technician can perform tasks that go beyond DIY reach: checking refrigerant levels, testing electrical connections, measuring airflow, lubricating moving parts, and inspecting the heat exchanger for cracks. Schedule one visit in spring before cooling season and, if your budget allows, a second in fall before heating season. This is the single most reliable way to catch developing problems before they become expensive failures.
Know When to Stop and Call a Pro
DIY maintenance has clear limits. If you notice ice forming on the refrigerant lines, hear grinding or squealing sounds, smell burning or a musty odor from vents, or see your energy bills rising without a clear cause, stop troubleshooting and contact a licensed HVAC technician. These symptoms often indicate refrigerant issues, failing motors, or electrical faults - all of which require professional tools and qualifications to diagnose and repair safely.
Do Not Attempt Refrigerant Work Yourself
Handling, adding, or recovering refrigerant is regulated by federal law and requires EPA Section 608 certification. Attempting it without proper training and equipment is illegal and can result in serious injury. Always leave refrigerant-related work to a licensed HVAC professional.
Signs Your System Needs Professional Attention
Even well-maintained systems eventually need a technician's eye. Watch for these signals between your scheduled service visits:
- Unusual sounds: Banging, grinding, or squealing during startup or operation often point to a mechanical issue inside the unit.
- Weak or uneven airflow: If some rooms are consistently harder to heat or cool, there may be a duct issue, a failing blower, or a refrigerant problem.
- Unexplained energy bill increases: A sudden jump in usage without a change in habits can indicate the system is working harder than it should.
- Frequent cycling: A system that turns on and off in short bursts (called short-cycling) may be oversized, low on refrigerant, or experiencing a control issue.
- Persistent odors: Musty smells can signal mold in ducts; burning smells suggest electrical issues. Both warrant prompt professional evaluation.
If you're new to homeownership and building your maintenance confidence, our first-time homeowner's maintenance primer covers the broader habits that protect your investment from day one. And just as with vehicle upkeep, knowing your limits is part of good stewardship - a principle explored in our piece on recognizing DIY limits in car maintenance, which applies equally well at home.