Why a Checklist Approach Works Outdoors
Most bare patios don't stay bare because their owners lack ideas - they stay bare because the scope feels overwhelming. A checklist breaks that paralysis by giving you a clear sequence to follow, one category at a time. Instead of buying furniture, realizing there's no shade, and then discovering the surface is uneven, you work through the fundamentals first and layer comfort on top.
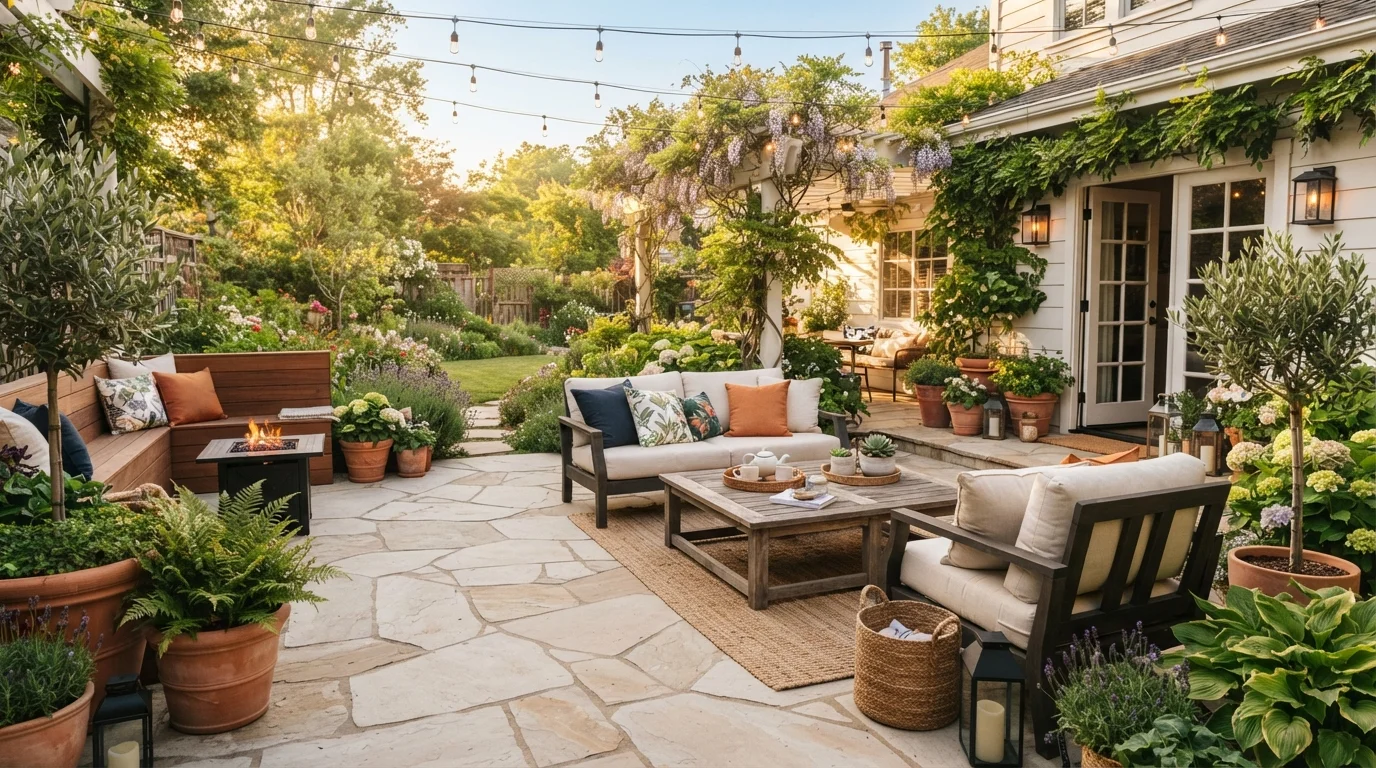
This checklist is organized into phases that mirror how a space actually gets used: start with what's underfoot, build up through structure and shade, then refine with planting, lighting, and the finishing touches that make a space feel livable. Whether you're working with a concrete slab, a gravel pad, or a wooden deck, the same sequence applies.
For context on how outdoor improvements fit into broader home upkeep, our home maintenance hub covers the wider picture. And if you're already thinking about how to keep an improved space organized season to season, the Seasonal Declutter Audit is a useful companion - many of the same reassessment habits transfer outdoors.
Surface & Structure Assessment
Sun, Shade & Weather Exposure
Seating & Furniture Layout
Planting & Greenery
Lighting & Evening Usability
Tools and Materials to Have Ready
You don't need specialized equipment to work through this checklist - most of what's required is already in a typical homeowner's toolkit. That said, a few items will make the assessment and early improvement steps significantly easier.
Measuring tape
Measure the space accurately before buying furniture or shade structures to avoid mismatched scale.
Level
Confirm whether the surface is even enough for stable furniture placement and identify drainage slopes.
Notebook or phone camera
Record notes and photographs of the space at different times of day to track sun and shadow patterns.
Pry bar or screwdriver
Test deck boards and surface pavers for looseness or rot during the structural assessment phase.
Graph paper or a simple floor plan app
Sketch a rough layout for furniture zones and planting areas before purchasing anything.
Once you've gathered what you need, set aside an hour on a clear day to walk through the assessment steps outdoors. Pay particular attention to where shadows fall at midday versus late afternoon - this single observation shapes nearly every shading and planting decision that follows. If you're planning to add container gardens, our guide on container gardening on a balcony or patio covers soil mixes, drainage, and which crops perform well in pots.
Don't Skip the Structural Check
It's tempting to jump straight to cushions and planters, but a surface with unresolved cracks, rot, or drainage problems will undermine every improvement layered on top. Uneven surfaces are a trip hazard, and water pooling near a foundation can cause long-term damage. Address structural concerns first - even if that means delaying the fun parts by a weekend or two.
Putting It All Together: From Assessment to Retreat
The most common mistake people make when improving an outdoor space is skipping straight to aesthetics - buying cushions before the surface is level, or stringing lights before there's anywhere comfortable to sit. The checklist order here is intentional: each phase unlocks the next.
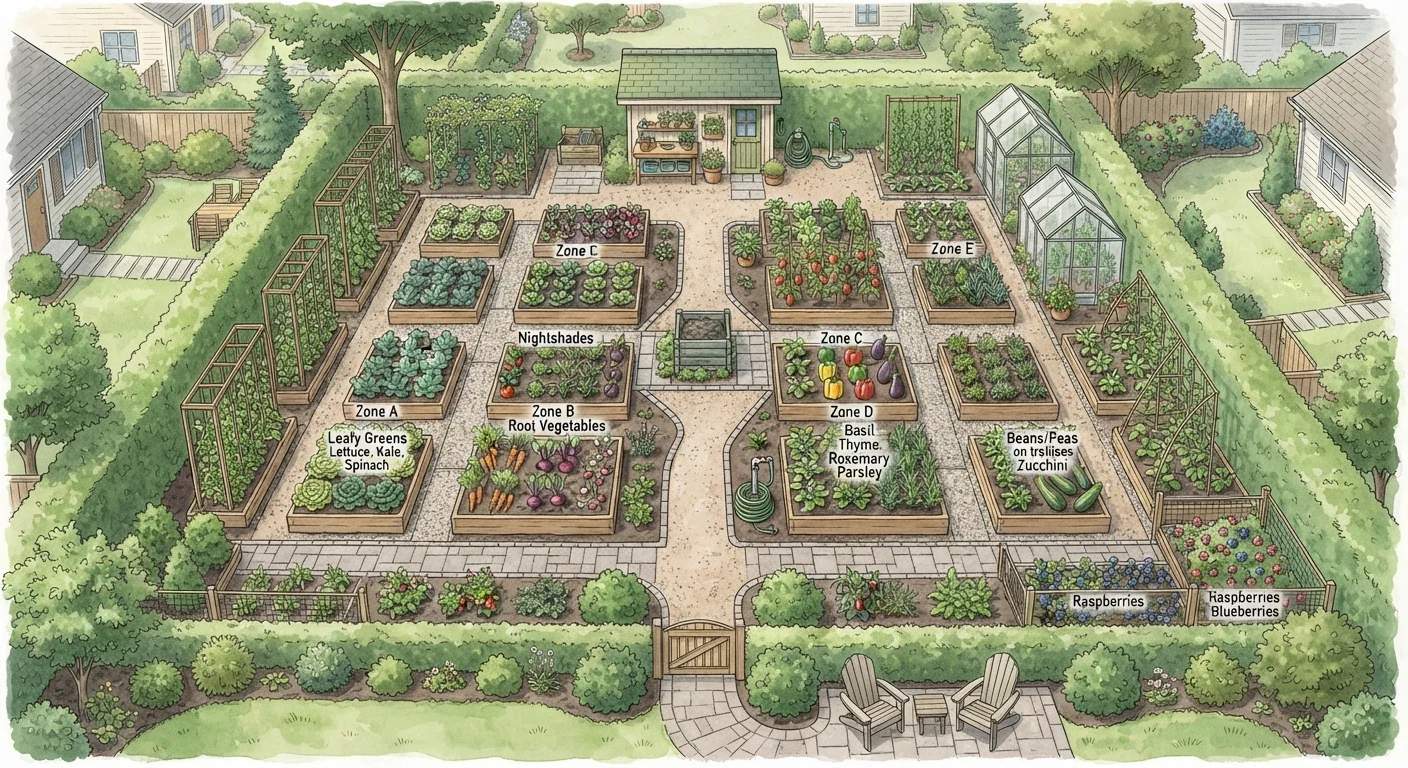
Once your surface is sound and your shade situation is addressed, seating placement becomes obvious. Once seating is in place, you can see exactly where planting would soften edges and where lighting would extend your evening hours. Think of the space the way experienced gardeners think about layout - early structural decisions reduce the workload every season. Our article on garden layout principles explores this idea in depth.
For shaded corners that feel like liabilities, consider them opportunities. Certain ferns, ground covers, and flowering perennials genuinely thrive without full sun. Our piece on plants that thrive in shade offers a practical starting point. And don't overlook mulch as a low-effort finish for any planted beds you add - it suppresses weeds and retains moisture with minimal ongoing work. See Mulching: The Low-Effort Habit with Outsized Garden Benefits for guidance on types and depth.
Electrical Work Requires a Licensed Professional
If adding outdoor lighting requires running new wiring, installing a new exterior outlet, or modifying your electrical panel, always hire a licensed electrician. Outdoor electrical work is subject to local codes and typically requires a permit and inspection. Improperly installed outdoor wiring poses a serious shock and fire risk. Low-voltage solar options are a practical workaround for non-wired areas, but any hardwired installation is not a DIY task.
Finally, treat your outdoor space as a living room that you reassess rather than complete. Seasons shift sun angles, plants grow, and your needs change. A space that works in June may need minor adjustments in September. That mindset - iterative and observant rather than one-and-done - is what separates a genuinely usable retreat from a patio that looks good in photos but never quite gets used.