Why Composting Is Worth the Effort
Every year, a significant portion of household waste - vegetable peels, coffee grounds, eggshells, cardboard - ends up in landfills where it produces methane as it breaks down without oxygen. Composting intercepts that material and redirects it into something genuinely useful: a rich, living soil amendment that costs nothing to make and improves nearly every type of garden bed.
Finished compost feeds beneficial soil microbes, improves drainage in clay soils, and helps sandy soils retain moisture. As our guide to soil health explains, the microbial life in your soil is the invisible engine behind plant growth - and compost is one of the most effective ways to support it. Whether you're starting a garden from scratch or maintaining an established one, a steady supply of homemade compost makes a measurable difference.
Keep a Small Bin in Your Kitchen
A countertop container with a tight-fitting lid makes it easy to collect coffee grounds, vegetable peels, and eggshells throughout the week without multiple trips outside. Empty it into your outdoor compost bin every two to three days to prevent odors from building up indoors.
What You'll Need
Composting at home requires very little in the way of equipment. The essentials are a container or designated space, organic materials, and a bit of time. Review what you'll need before getting started:
What you will need
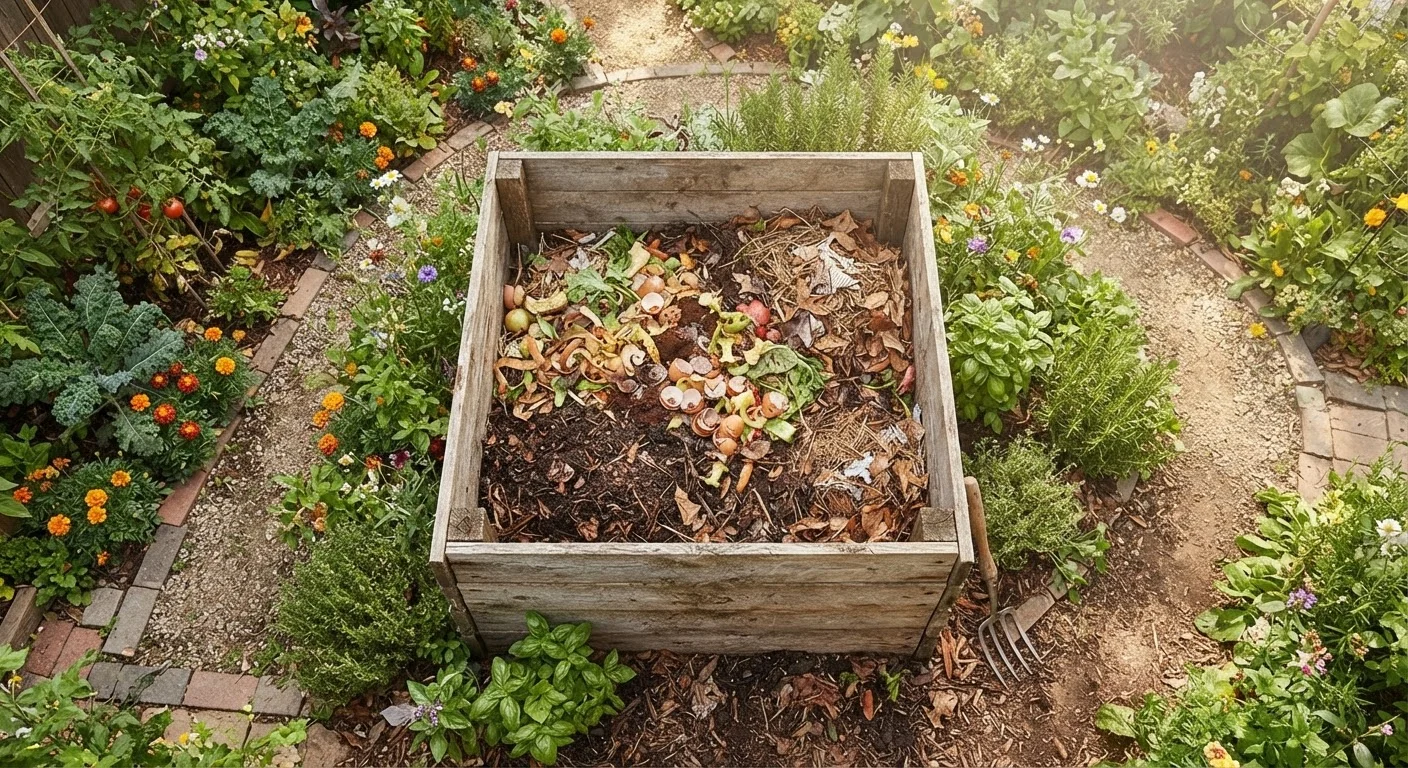
Compost bin or pile enclosure
Contains organic material in one place to concentrate heat and microbial activity for faster breakdown.
Garden fork or compost turning tool
Used to aerate the pile by turning materials, which accelerates decomposition.
Countertop kitchen scrap container
Collects food scraps indoors between trips to the outdoor compost bin.
Garden hose or watering can
Used to add moisture to a dry pile, keeping conditions right for microbial activity.
Thermometer (compost or soil type)
Helps you monitor internal pile temperature to confirm active decomposition is occurring.
Step-by-Step: Setting Up and Running Your Compost System
Never Compost These Materials
Meat, fish, bones, dairy products, and oily or greasy foods attract pests and can create harmful pathogens in a standard open compost bin. Also avoid composting pet waste, diseased plants, or anything treated with pesticides, as these can contaminate finished compost and harm your garden.
Choose your composting method
The most common home composting options are an open pile in a back corner of the yard, a DIY three-sided wooden enclosure, or a purchased tumbler or bin. Open piles are the simplest to start but may attract animals in some areas. Enclosed bins or tumblers offer more pest resistance and can look tidier. Choose based on your available space and how hands-on you want to be.
Select your location
Place your compost bin or pile in a spot with partial shade to prevent it from drying out too quickly in summer. It should be reasonably close to your kitchen door for convenience, but far enough from windows and seating areas that any mild odors aren't disruptive. Level ground with good drainage is ideal.
Understand greens and browns
Successful composting relies on balancing two categories of material:
- Greens (nitrogen-rich): fruit and vegetable scraps, coffee grounds, tea bags, fresh grass clippings, and plant trimmings.
- Browns (carbon-rich): dry leaves, shredded cardboard, newspaper, straw, and wood chips.
Aim for roughly equal layers by volume - too many greens creates a smelly, slimy pile; too many browns slows everything down. A common starting point is one part greens to one or two parts browns.
Build your initial pile
Start with a layer of coarse brown material - like small twigs or wood chips - at the base to encourage airflow. Then alternate layers of greens and browns, roughly four to six inches each. Moisten each layer lightly as you go; the pile should feel like a wrung-out sponge, damp but not dripping. A pile at least three feet in each dimension will generate enough internal heat to break down efficiently.
Maintain moisture and aeration
Check your pile every week or two. If it feels dry, add water and mix it in. If it smells off, add more browns and turn the pile. Turning - using a fork to shift material from the outside of the pile to the center - introduces oxygen, which is essential for aerobic decomposition. A pile that's turned every one to two weeks will decompose far faster than one left untouched.
Recognize finished compost
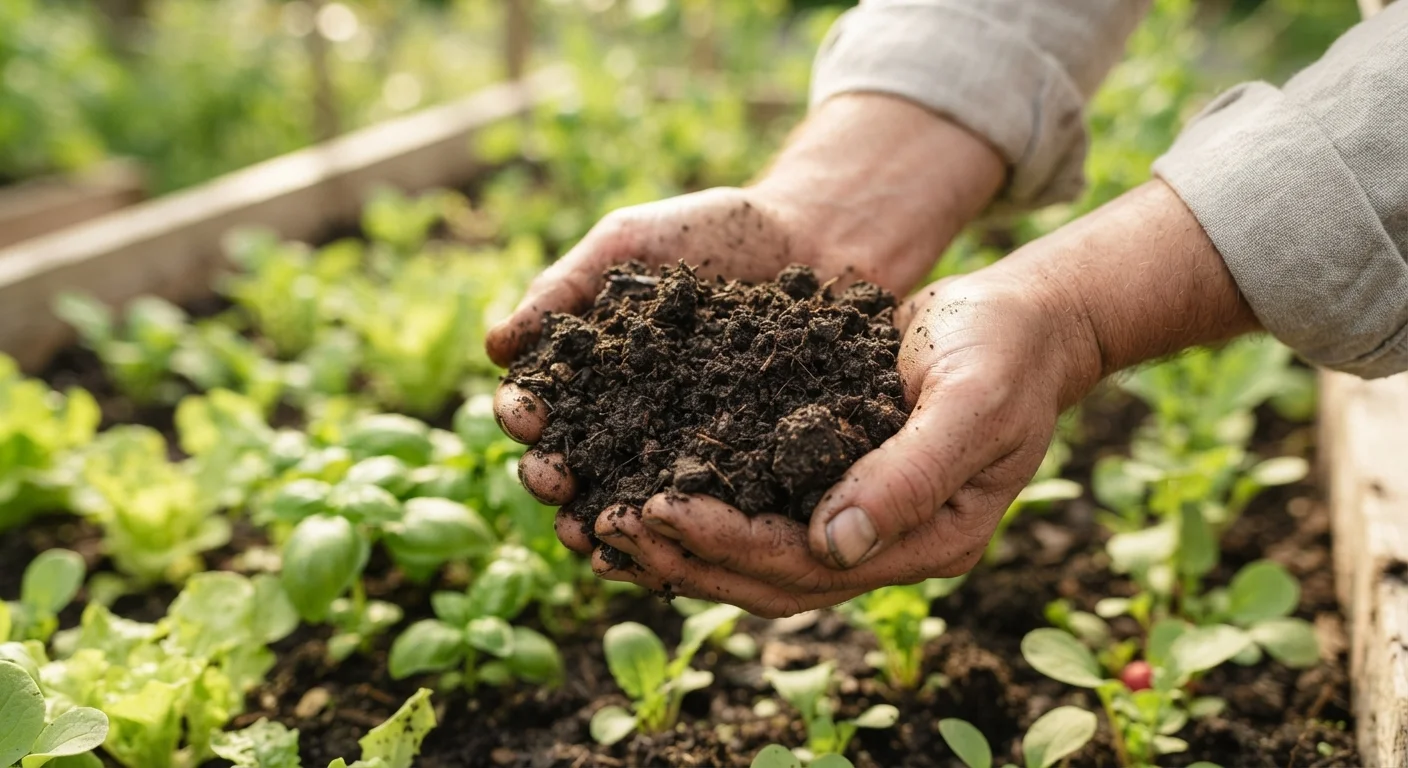
Finished compost is dark brown or black, crumbly in texture, and smells earthy - like forest soil after rain. You should not be able to identify the original materials. The pile will also be smaller than when you started. If you see large unbroken pieces, separate them out and return them to the active pile for another cycle.
Apply compost to your garden
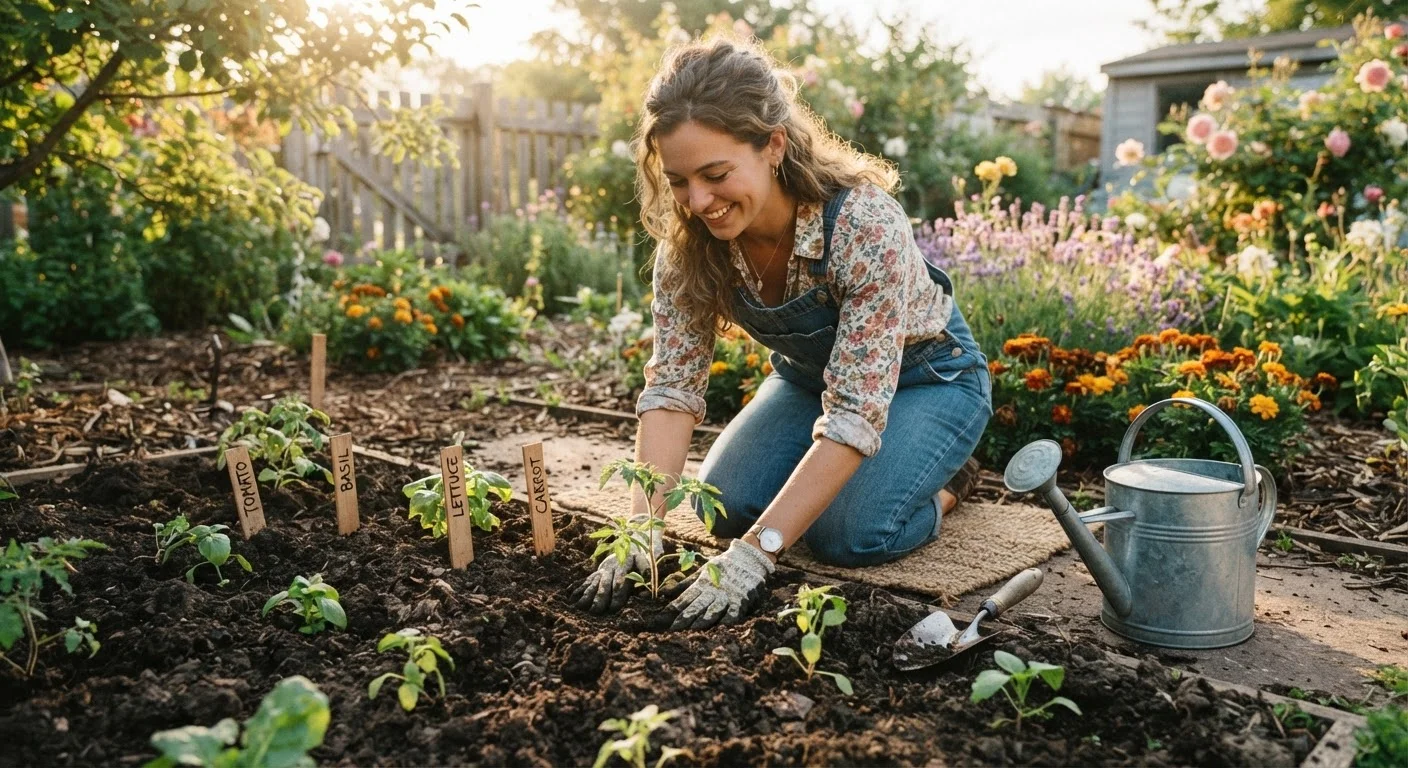
Spread two to three inches of finished compost over garden beds and work it lightly into the top layer of soil, or use it as a top dressing around established plants. Compost improves soil structure, feeds beneficial microbes, and helps retain moisture - making it one of the most effective things you can add to any garden. For container plants, mix compost into potting mix at roughly a one-to-four ratio.
Troubleshooting and Putting Compost to Work
Even well-managed piles run into occasional problems. Use the guide below to diagnose common issues:
- Pile isn't heating up: It may be too dry, too small, or lacking enough greens. Add nitrogen-rich material and water, then turn.
- Smells bad: Usually too wet or too many greens. Add browns, turn to aerate.
- Pests are getting in: Avoid adding food scraps that attract animals, and consider switching to a fully enclosed bin.
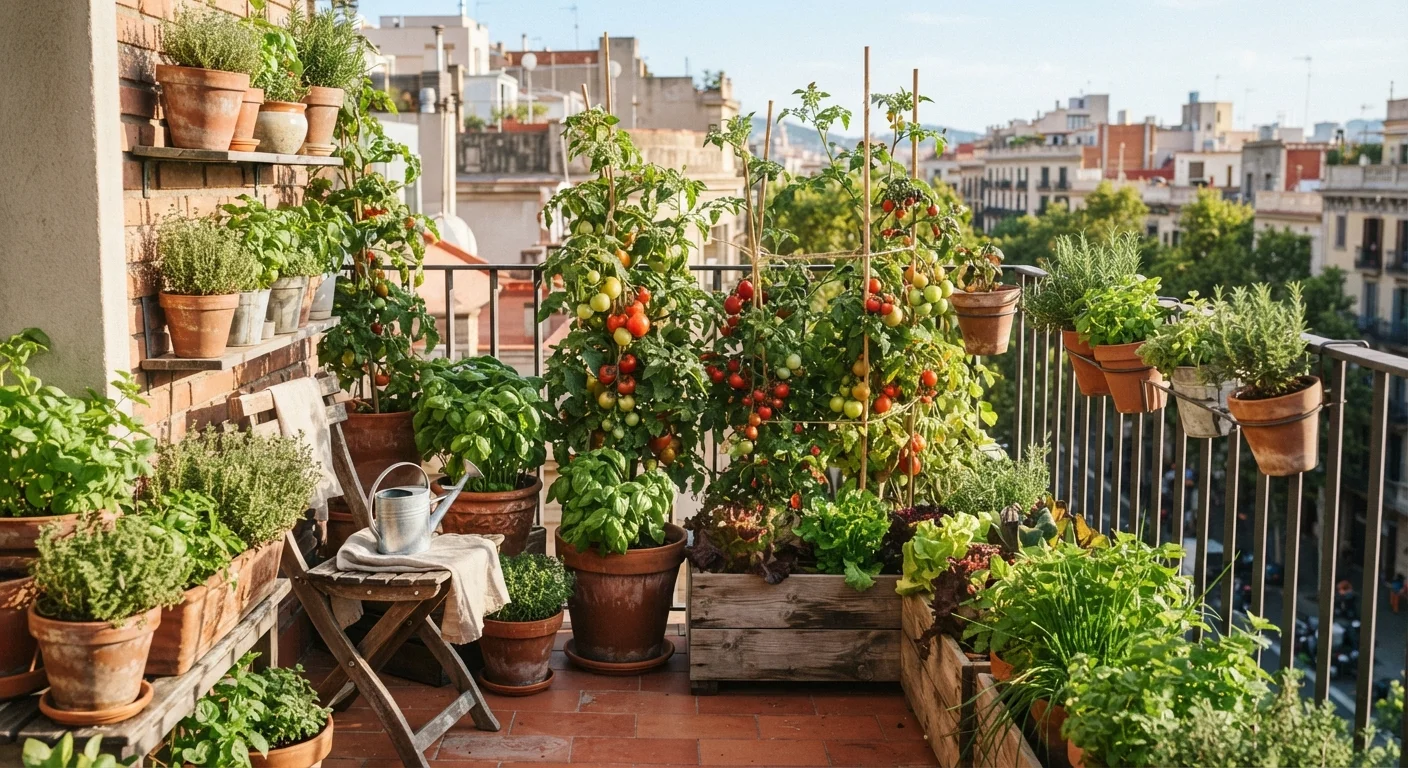
Once your compost is ready, the applications are wide. Mix it into raised beds before planting, use it as mulch around trees and shrubs, or blend it into container mixes - particularly useful if you're growing vegetables in containers. Compost also pairs well with mulching practices - together, they form a low-cost, high-return soil improvement routine that compounds season after season.
Don't Let Your Pile Get Waterlogged
A soggy compost pile suffocates the beneficial microbes doing the decomposition work, producing a slimy, foul-smelling mess. If your pile smells like ammonia or rotten eggs, it's too wet or lacks enough brown material - add dry leaves or shredded cardboard and turn it to restore airflow.