Why Counter Space Is the First Thing to Protect
In a small kitchen, the counter is the workspace. Lose it to appliances, mail, or miscellaneous items, and every cooking task becomes harder - there's nowhere to prep, nowhere to set things down, and the kitchen feels smaller than it actually is. The goal of organizing a small kitchen isn't to find room for everything you own. It's to make intentional decisions about what earns a place there and where it lives when it's not in use.
This approach is part of a broader room-by-room organizing philosophy. If you're working through your whole home, our room-by-room organization guide offers a practical framework for tackling each space in sequence.
Don't Reorganize Around Clutter
Before buying any storage products, remove everything from your counters and cabinets first. Organizing items you no longer use or need simply relocates the problem. Declutter first, then design your storage system around what genuinely earns its place in the kitchen.
What You'll Need Before You Start
You don't need to invest in a full set of storage products before you begin. Most of the early work is subtractive - removing what doesn't belong - and that costs nothing. Once you've decluttered and mapped your zones, you'll have a much clearer sense of what, if any, organizers are worth adding.
What you will need
Measuring tape
Measure cabinet interiors, wall sections, and counter depth to plan storage solutions accurately.
Cabinet door organizers
Mount inside cabinet doors to hold spice packets, foil rolls, or cleaning supplies without using shelf space.
Stackable shelf risers
Create two-tier storage inside cabinets, effectively doubling usable shelf space.
Magnetic knife strip
Mounts to the wall to store knives and metal tools, freeing up a knife block's counter footprint.
Drawer dividers or organizers
Keep utensils, tools, and gadgets sorted so drawers close fully and items are easy to find.
Over-the-door hooks or racks
Hang on pantry or cabinet doors to store pot lids, cutting boards, or cleaning tools vertically.
Use a 30-Day Box for Uncertain Items
If you're unsure whether to keep a kitchen gadget, place it in a labeled box with today's date. If you haven't reached for it in 30 days, it's a strong signal you can donate or discard it. This removes the emotional pressure of deciding in the moment.
Step-by-Step: Reclaiming Your Kitchen
Follow these steps in order. Skipping the declutter phase and jumping straight to buying organizers is one of the most common organizing mistakes - and it results in neatly stored clutter rather than a genuinely functional space.
Empty and audit your counters and cabinets
Remove everything from your countertops and, if time allows, your cabinets too. Group items into categories: daily-use tools, occasional-use appliances, duplicates, and items that don't belong in the kitchen at all. This gives you a clear-eyed view of what you're actually working with before you build any system around it.
Declutter ruthlessly before storing anything
Return only items you use at least once a week to the kitchen. Appliances used monthly or less - waffle makers, fondue sets, oversized roasting pans - belong in a pantry, closet shelf, or storage area. Duplicates (three wooden spoons, four spatulas) can be reduced to the one or two you actually reach for. Donate or discard what doesn't make the cut.
Define your kitchen work zones
Mentally divide your kitchen into functional zones: a prep area near the cutting board, a cooking zone near the stove, a coffee or breakfast station, and a cleaning zone near the sink. Store items as close as possible to where you use them. This reduces the number of things that end up permanently sitting on the counter between uses.
Move storage off the counter and onto vertical surfaces
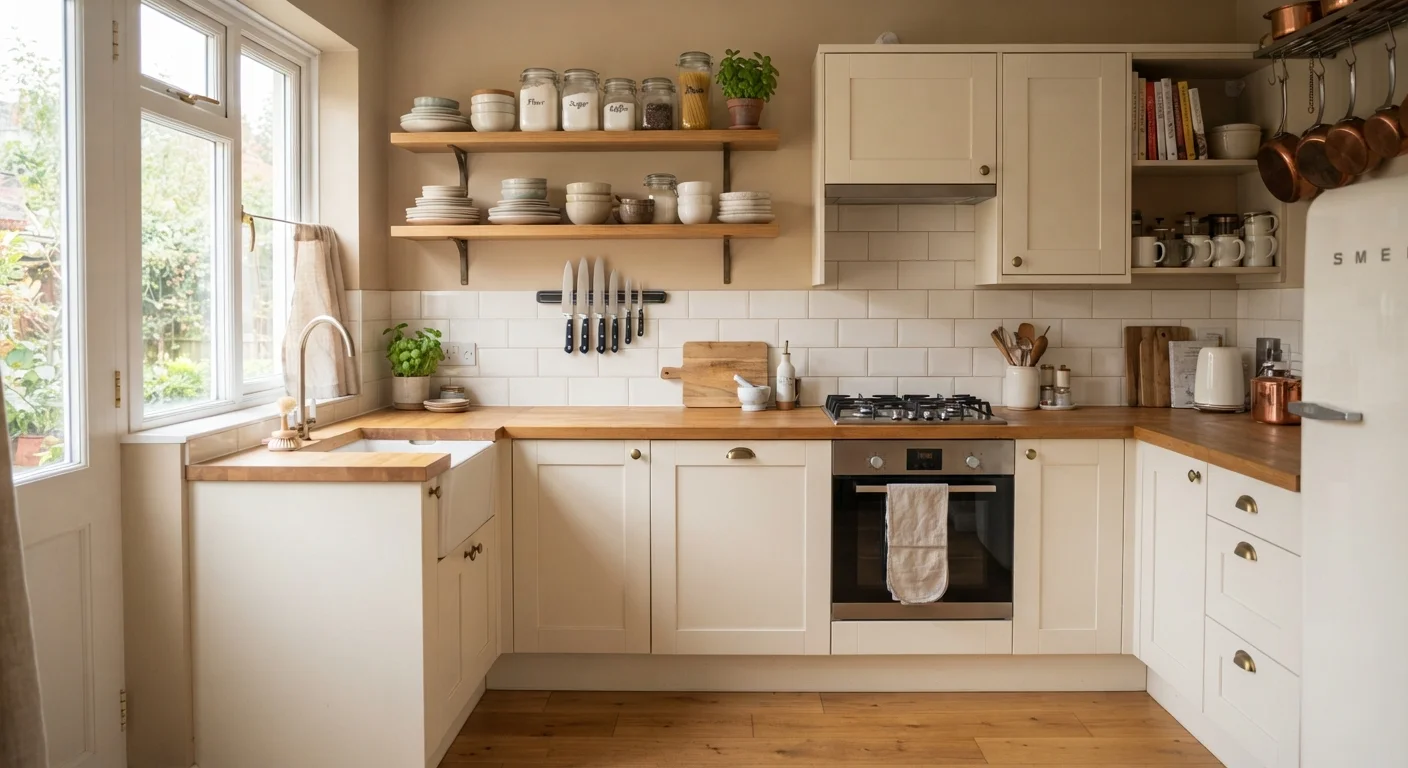
Countertops are for working, not storing. Shift as much as possible to walls, cabinet interiors, and cabinet doors. A wall-mounted magnetic strip handles knives. A wall shelf above the counter stores oils, vinegar, and frequently used jars. Inside cabinet doors, slim organizers can hold spice packets, foil, and plastic wrap. Pot lids, cutting boards, and baking sheets stand upright in vertical dividers inside lower cabinets rather than lying in stacked piles.
For a deeper look at how vertical versus floor-level storage strategies compare, see our guide to vertical vs. floor space storage.
Add internal cabinet organizers to maximize depth and height
Most cabinets are under-utilized vertically. Stackable shelf risers create two-tier storage for plates, bowls, or pantry items, allowing you to use the full height of a shelf without unstable stacking. Drawer dividers keep utensil drawers from becoming a jumbled catch-all that defeats itself every time you open it. Pull-out organizers on lower cabinet shelves make it easier to reach items stored in the back without removing everything in front.
Establish a counter-clear habit to maintain the system
An organized kitchen only stays that way with a light daily practice. At the end of cooking or before bed, spend two to three minutes returning items to their designated home. If something has been sitting on the counter for more than a day without being used, it either needs a better storage location or it doesn't belong in the kitchen. For strategies to keep clutter from returning over time, our article on habits that keep homes tidy long-term covers the daily and weekly routines that make the biggest difference.
Avoid Overloading Wall-Mounted Shelves
Wall shelves and magnetic strips must be anchored into studs or with appropriate wall anchors for the surface type. Overloaded or improperly mounted shelving can fall and cause injury or damage. When in doubt, consult a hardware professional or handyperson before installing anything heavy.
There are also frequently overlooked storage opportunities - like the space above upper cabinets, the inside of pantry doors, or the toe-kick area below lower cabinets - covered in our guide to hidden storage opportunities worth exploring once you've completed the basics.