Why Checking Fluids Yourself Makes Sense
Routine fluid checks are one of the most accessible forms of car maintenance a new driver can learn. They cost nothing, require no special equipment, and take under 20 minutes. More importantly, they give you an early warning system: catching a fluid that's low, dirty, or discolored before it triggers a dashboard warning can mean the difference between a minor top-up and an expensive repair.
Modern vehicles have between five and seven fluid systems that need periodic attention. Each one serves a distinct function - from lubricating the engine and dissipating heat to enabling braking force and keeping your windshield clear. Understanding what you're looking at (and what you're looking for) turns a quick hood-up check into genuinely useful information.
Your Owner's Manual Is Your Best Resource
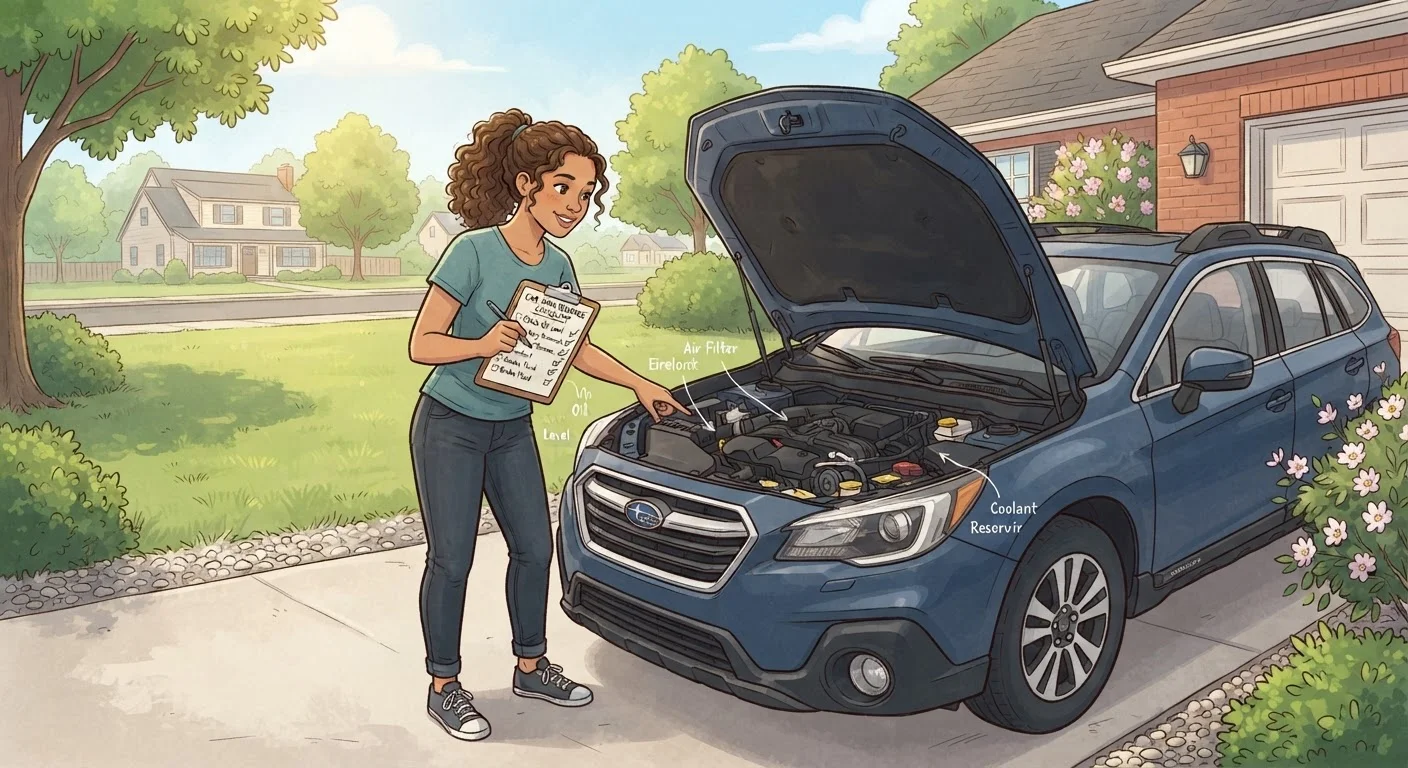
Every vehicle locates reservoirs slightly differently, and fluid specifications vary by make and model. Before your first check, spend five minutes with the owner's manual to find the exact reservoir locations and confirm which fluid type or grade your vehicle requires. Using the wrong fluid can cause more harm than running low.
If a warning light does appear on your dash before your next scheduled check, our guide on what your car's warning lights are actually telling you explains how to interpret each symbol and when to act.
What You'll Need Before You Start
Gather your tools and confirm the engine has been off long enough before lifting the hood. A flat parking surface is important - even a slight incline can cause oil and other fluids to pool at one end of their reservoirs, giving you an inaccurate reading.
What you will need
If you're unsure which tasks are safe to handle at home and which require a workshop, our DIY car maintenance limits guide gives a clear framework for drawing that line.
Step-by-Step: Checking Each Fluid
Never Open the Coolant Cap on a Hot Engine
Coolant systems are pressurized. Removing the radiator or coolant reservoir cap while the engine is hot can cause scalding fluid to spray out with force, causing serious burns. Always wait at least 30 minutes after driving before inspecting coolant levels. When in doubt, consult a qualified mechanic.
Park safely and let the engine cool
Pull onto a flat, level surface and turn the engine off. Fluid levels read inaccurately on slopes, and several checks require a cold engine. Wait at least 30 minutes before opening the hood - longer if you've been driving at highway speeds.
Check the engine oil
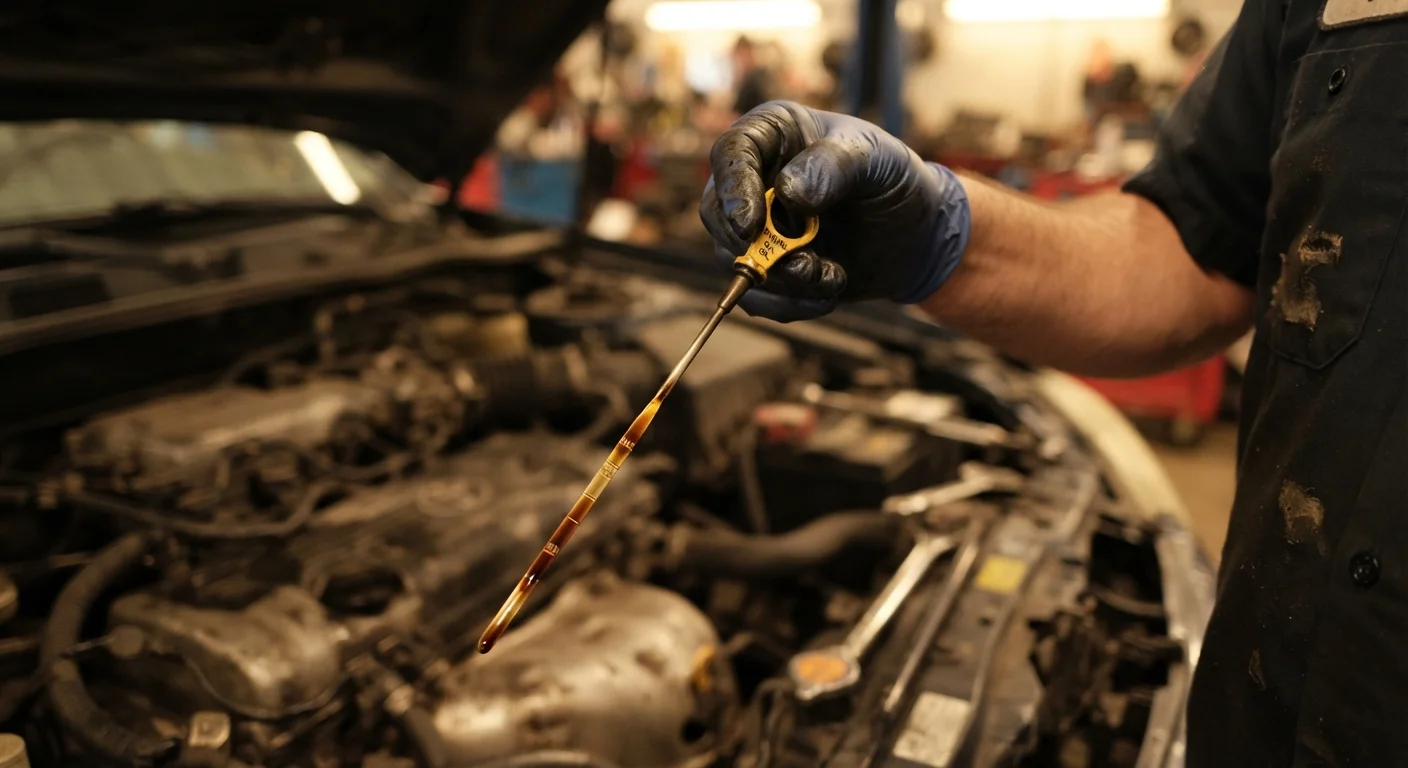
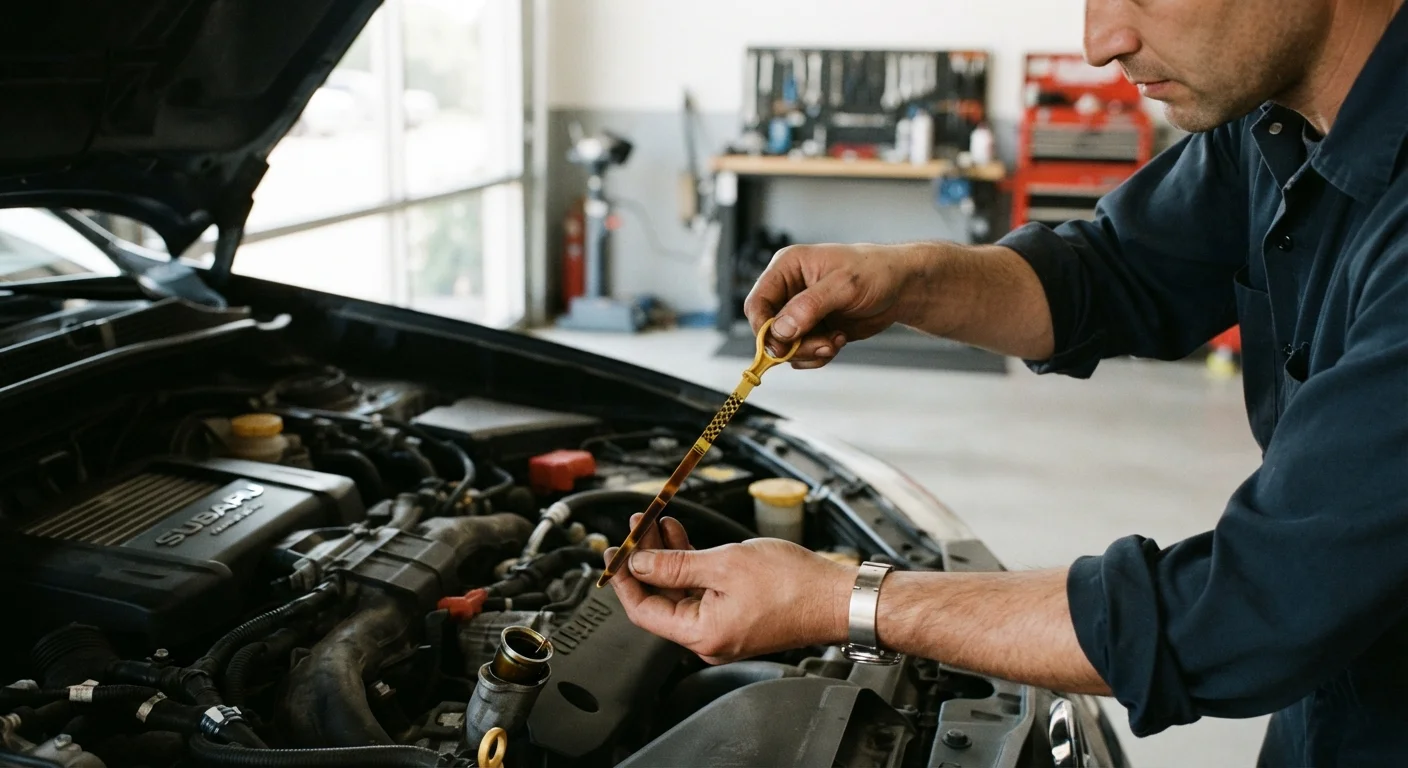
Locate the oil dipstick - typically a brightly colored ring or handle near the engine block. Pull it out fully, wipe it clean with your rag, reinsert it all the way, then withdraw it again. The oil film should sit between the two marks labeled MIN and MAX (or L and H). Healthy oil is amber to light brown. Oil that is black and gritty, or milky and foamy, warrants a visit to your mechanic. For guidance on oil grades and change intervals, see our engine oil grades and intervals guide.
Inspect the coolant reservoir
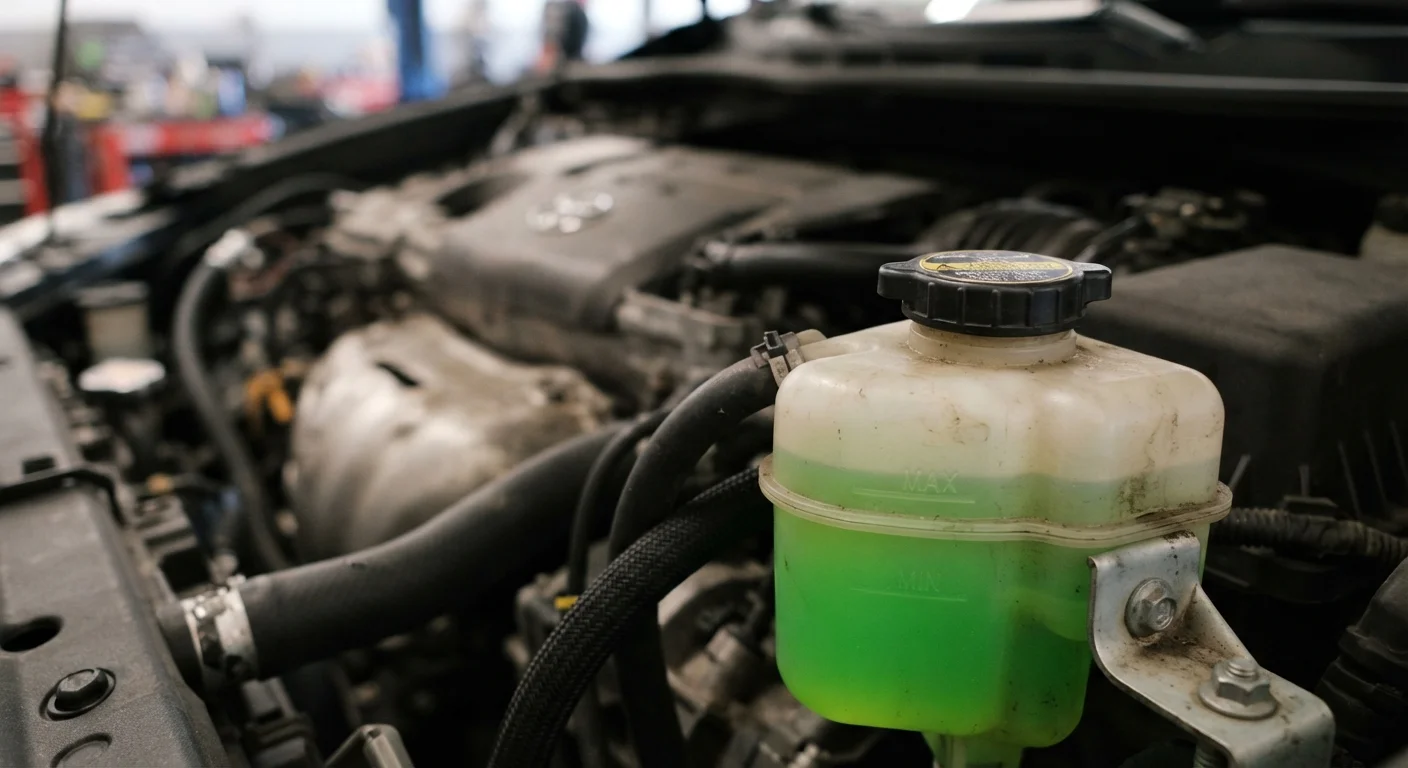
The coolant (antifreeze) reservoir is a translucent plastic tank, usually located near the radiator. It has MIN and MAX markings visible from the outside - you do not need to open it to take a reading. Coolant should appear bright green, orange, or pink depending on type. Murky, rust-colored, or oily coolant is a warning sign. Learn more about how coolant protects your engine.
Check the brake fluid reservoir
Brake fluid lives in a small translucent reservoir on top of the brake master cylinder, typically located on the driver's side near the back of the engine bay. The fluid level should sit between MIN and MAX. New brake fluid is nearly clear to pale yellow; old fluid turns dark amber or brown. A low brake fluid level can indicate worn brake pads or a leak - either situation deserves prompt professional attention.
Check power steering fluid (if applicable)
Many newer vehicles use electric power steering and have no fluid reservoir. If yours has hydraulic power steering, the reservoir - often marked with a steering wheel icon - may have a dipstick attached to the cap or external MIN/MAX markings. The fluid should be clear to light amber. A whining noise when turning is often the first sign of low power steering fluid.
Top up the windshield washer fluid
The washer fluid reservoir is usually the largest and most accessible tank in the engine bay, marked with a windshield or spray symbol. Unlike other fluids, this is the one you can safely fill yourself without special precautions. Use a purpose-made washer fluid rather than plain water - plain water can freeze in cold climates and doesn't cut road grime as effectively.
After completing all checks, replace every cap and dipstick securely before closing the hood. Loose caps can allow fluid to spray onto hot engine components, creating a fire risk or contamination problem.
Reading What You Find: Color and Condition Guide
Level is only part of the story. The condition of each fluid tells you just as much:
- Engine oil: Light amber = healthy. Dark brown/black = overdue for a change. Milky or foamy = possible coolant contamination - see a mechanic immediately.
- Coolant: Bright and clear = good. Rusty, oily, or brown = degraded or contaminated - flush required.
- Brake fluid: Pale yellow = acceptable. Dark brown = moisture-saturated and likely due for replacement.
- Power steering fluid: Clear to light amber = normal. Dark or burnt-smelling = degraded.
Consistently Low Levels Need Professional Diagnosis
If a fluid level drops noticeably between your monthly checks without a clear topping-off explanation, the vehicle likely has a leak or internal problem. Do not keep topping off without investigating the cause. Take the car to a qualified mechanic promptly, especially if brake fluid is involved.
If your vehicle inspection report flags fluid-related items you don't recognize, our guide to reading your vehicle inspection report explains what each notation means in plain language.